What Is a 360 Camera and How Does It Work?
Learn how dual fisheye lenses capture and stitch a spherical view, how reframing works, why 360 resolution is different, and how to avoid visible seams.
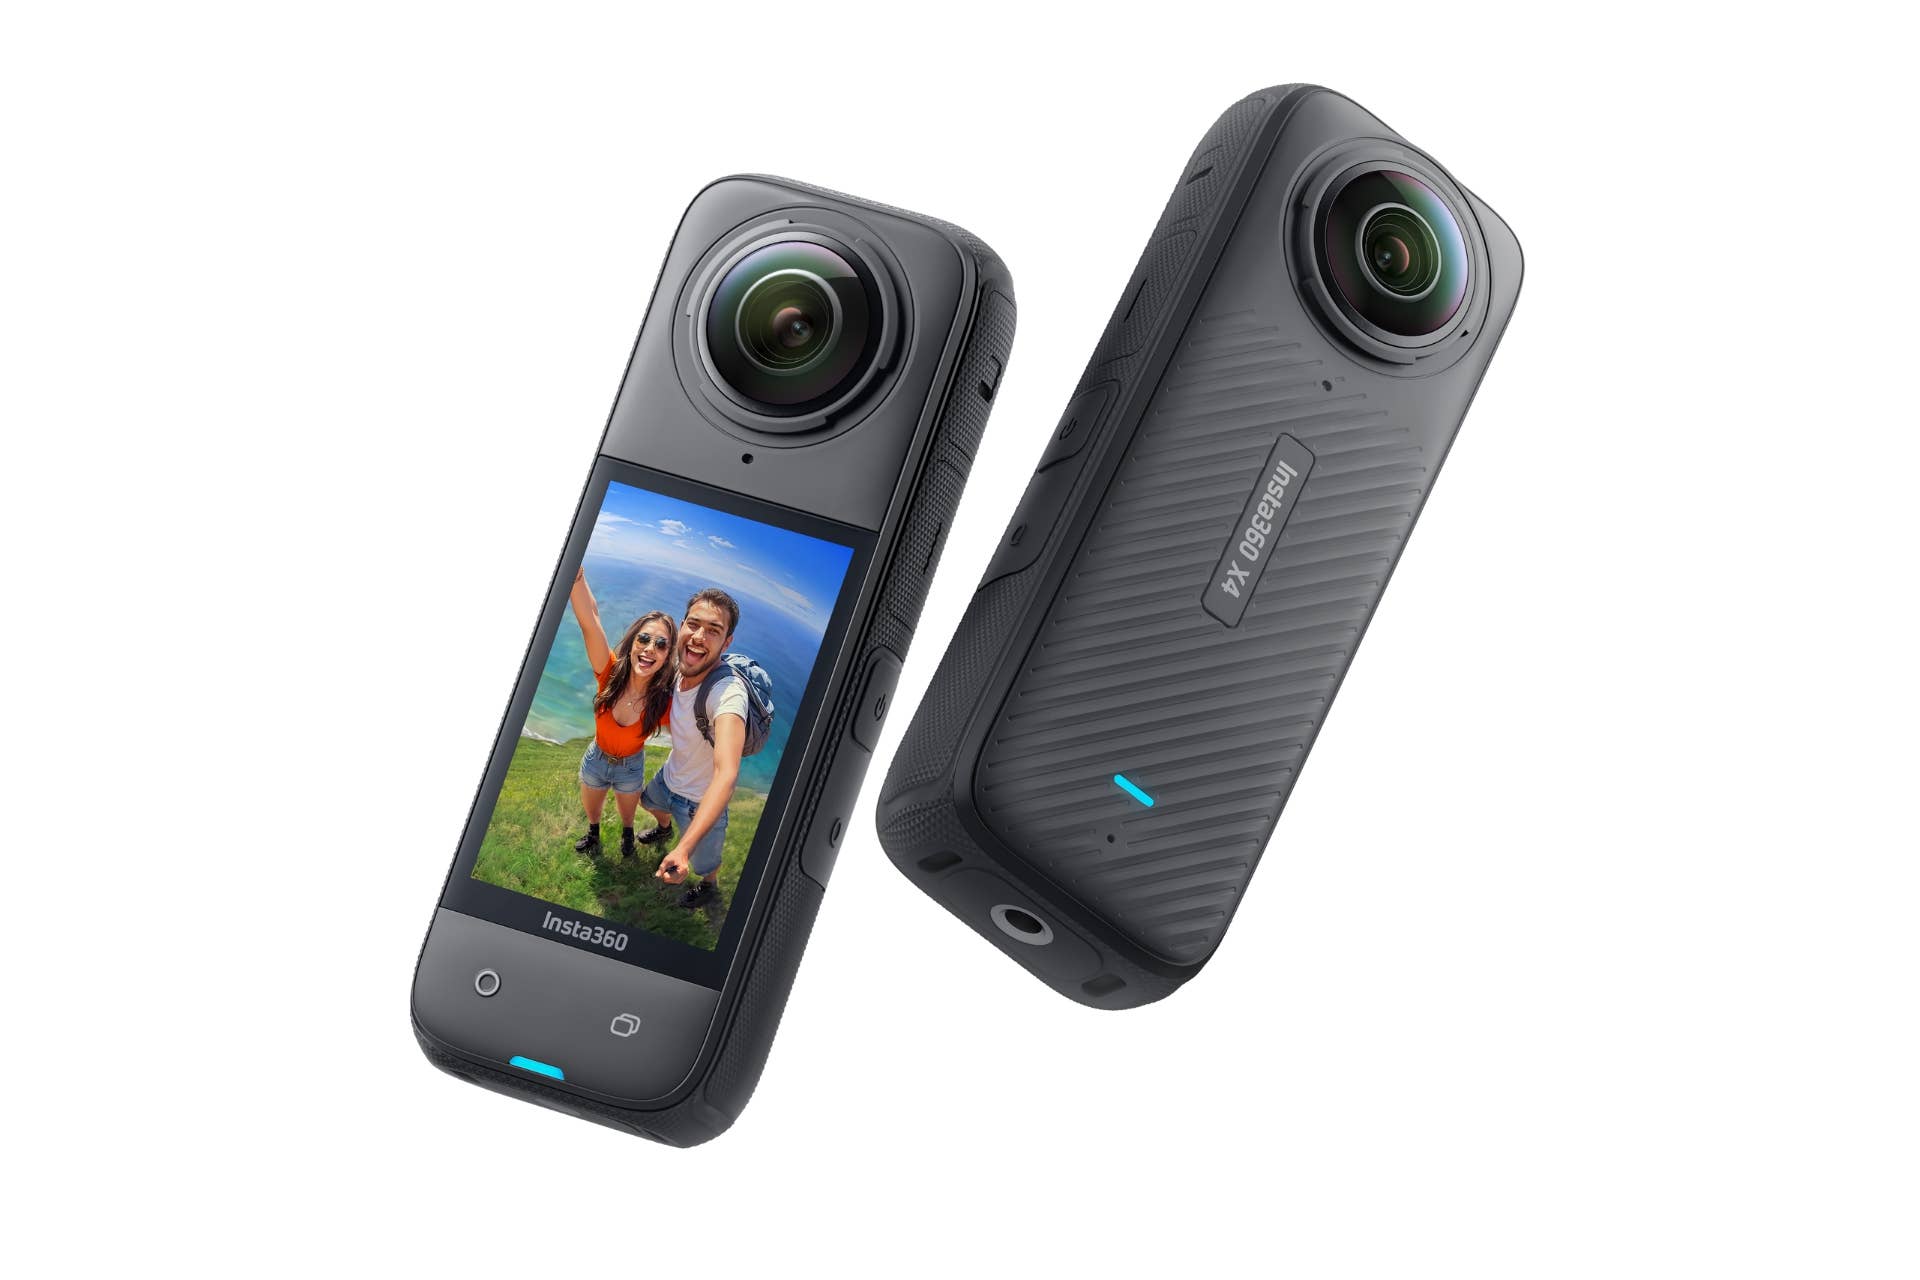
How a 360 camera sees everything
A common pocket 360 camera places one fisheye lens on each side of a slim body. Each lens covers a little more than 180 degrees. The overlapping edges give software enough information to blend the front and rear images.
Professional spherical rigs may use six, eight, or more cameras to gain resolution or stereoscopic depth. The principle is similar: synchronized views are geometrically mapped into one environment.
What stitching does
Stitching warps each fisheye image into a common projection, aligns overlapping features, blends exposure and color, and hides the boundaries where views meet. It can happen in the camera, a phone app, or desktop software.
The process is not perfect because the lenses do not occupy exactly the same physical point. Each sees nearby objects from a slightly different position. This parallax is most visible when an object is close to the seam.
Where the stitch line is
On a dual-lens camera, the seam runs around the thin edge of the body, halfway between the centers of the two lenses. Point one lens directly toward the most important subject rather than placing the subject beside the camera.
Keep people and objects at least the manufacturer's recommended safety distance away. For one current consumer model, Insta360 recommends roughly 1 meter for best general stitching, while exact minimums vary by camera and accessory.
Hands wrapped around the body, a bent selfie stick, a helmet edge, or an accessory protruding beside the seam can be cut, doubled, or warped.
The equirectangular image
A stitched sphere is often stored as a flat 2:1 rectangle called an equirectangular projection. Longitude runs left to right and latitude top to bottom, like a world map.
The rectangle looks extremely stretched near the top and bottom. That is normal. A compatible viewer wraps it back onto a virtual sphere so the user can look around naturally.
Interactive 360 versus reframed video
Interactive delivery
The viewer chooses where to look by dragging a screen, moving a phone, or turning inside a headset. This works for virtual tours, property documentation, travel scenes, training, and immersive events.
Reframed delivery
The editor chooses a normal flat view from the sphere. Keyframes can pan, tilt, roll, and change field of view after recording. One capture can become a horizontal video, vertical social clip, square post, tiny-planet effect, or several camera angles.
This “shoot first, point later” flexibility is the main practical advantage. It does not remove the need for storytelling; the editor still chooses where attention goes.
Why 8K 360 is not the same as 8K conventional video
A 360 resolution such as 7680 × 3840 is spread across the entire sphere. A typical reframed view displays only a fraction of that surface at one time. The resulting detail can resemble ordinary 1080p or somewhat higher output depending on the selected field of view, projection, lens quality, and processing.
A narrow digital view uses fewer source pixels and looks softer. Calling the camera “8K” is accurate for the stitched sphere but does not promise an 8K flat crop in every direction.
This is a special case of the crop limits explained in Optical vs. Digital Zoom.
How the invisible selfie stick works
The stick is not removed by magic or always by generative filling. When a narrow stick is aligned with the camera body, it falls into the area directly beneath the lenses where the stitch geometry already has a small blind region. Software blends around it and uses surrounding floor or ground pixels to cover the nadir.
A thick pole, angled stick, handle, hand, cable, or tripod legs may remain visible. Keep the camera and supported stick in a straight line and use an accessory profile if the software provides one.
Stabilization and horizon leveling
Because the camera records every direction, software can rotate the viewing window within the sphere to counter camera movement and keep the horizon level. Gyroscope data helps the app know how the body moved.
This is powerful for walking, skiing, cycling, and vehicle mounts. Motion blur from a slow shutter cannot be digitally rotated away, and severe low-light noise reduces stabilization clarity.
Lens guards and dive cases
Fisheye lenses protrude and scratch easily. Lens guards add protection but change reflections, flare, and optical geometry. Select the correct guard mode in stitching software or seams can appear.
Underwater, refraction changes the lens's field of view. A bare camera that stitches well in air may fail beneath the surface. A purpose-designed dive case creates the spacing and dome shape needed for underwater coverage; its matching stitch profile is part of the workflow.
Exposure across two lenses
One lens may face the sun while the other faces shade. If their exposure or white balance differs, a visible brightness or color boundary appears. Auto modes try to balance the complete sphere, but extreme contrast can exceed the sensors' range.
Keep the sun on a lens axis rather than directly on the seam when practical. Use matched manual exposure and white balance for multi-camera professional rigs. Protect important highlights because a small 360 sensor has limited recovery in dim regions.
Audio in a sphere
Some cameras record spatial or multi-channel audio intended to rotate with the viewer. Others provide ordinary stereo. Wind affects tiny exposed microphones strongly during action.
For important speech, use a compatible wireless microphone or separate recorder and sync later. Verify whether the app preserves spatial metadata when reframing or exporting.
Common uses
- Action and travel: capture the rider and surroundings without choosing direction during the event.
- Virtual tours: create navigable rooms, venues, and properties.
- Vehicle mounting: reframe front, side, and rear views from one camera.
- Events: record an immersive environment, with consent and careful placement.
- Training and documentation: preserve spatial context around a work site.
- Creative video: tiny planets, impossible-looking camera moves, and third-person stick shots.
360 camera versus action camera
A conventional action camera records one high-quality direction and is simpler to edit. More of its pixels are concentrated in the delivered frame, so detail is normally stronger at an equivalent headline resolution.
A 360 camera captures all directions and lets you reframe, but requires stitching, larger files, more processing, and extra lens care. Many current 360 models offer a single-lens mode, though it may not match a dedicated action camera in every resolution, frame rate, or low-light condition.
The broad camera types guide places both categories in context.
A simple shooting workflow
- Clean both lenses carefully; every direction can contain flare.
- Mount the camera so the stick aligns with the body.
- Point a lens—not the seam—toward the main subject.
- Keep nearby people beyond the safe stitching distance.
- Choose exposure for the full environment, not only the preview direction.
- Record a short test and inspect the seam, horizon, and audio.
- Import through the manufacturer's app or desktop software.
- Apply the correct lens-guard or dive-case profile.
- Stitch, stabilize, and then choose interactive or reframed delivery.
Editing and export decisions
For interactive 360, preserve spherical metadata so platforms recognize the file. For reframed video, set keyframes for direction and field of view, then export a conventional aspect ratio.
Avoid constant spinning and zooming simply because the tools allow it. Smooth, motivated changes are easier to watch. Cut between reframed angles as you would with ordinary cameras when a digital move becomes distracting.
Privacy and placement
A 360 camera can record people behind the operator who may not realize they are in frame. Obtain consent where required, avoid private spaces, and inspect every direction before publishing. Blur faces, screens, license plates, documents, and reflections that reveal sensitive information.
Also remember that the operator cannot simply stand “behind the camera.” Use a timer, remote control, physical cover, or intentional role in the scene.
Common mistakes
- Holding the camera too close to a face. Parallax and fisheye perspective distort features.
- Aiming the seam at the subject. Point a lens directly toward what matters.
- Expecting headline resolution in a narrow crop. Pixels cover the whole sphere.
- Forgetting both lenses. A fingerprint on the rear lens affects half the world.
- Using the wrong accessory stitch mode. Guards and dive cases change geometry.
- Publishing without checking behind the camera. The recording includes nearly everything.
Frequently Asked Questions
-
Most consumer models use two back-to-back fisheye lenses to record overlapping views. Software warps, aligns, and blends those views into a spherical photo or video.
-
Yes. You can drag around an interactive spherical player, or the creator can reframe the sphere into a conventional horizontal, vertical, or square video.
-
The stated resolution is spread over the complete sphere. A normal-looking reframed view uses only part of those pixels, so an 8K 360 recording does not provide an 8K flat crop in one direction.
-
A narrow stick aligned with the camera falls into the stitched blind area directly below the body. Software blends around it. Angled, thick, or offset mounts may remain visible.
-
No. A conventional action camera records one direction with simpler workflow and more pixels in the final frame. A 360 camera records nearly all directions for interactive viewing or reframing after capture.