20 Wedding Photography Tips for a Smoother, Better Shoot
Practical wedding photography advice for planning the day, choosing camera settings, handling ceremonies and family groups, using flash, and protecting every image.
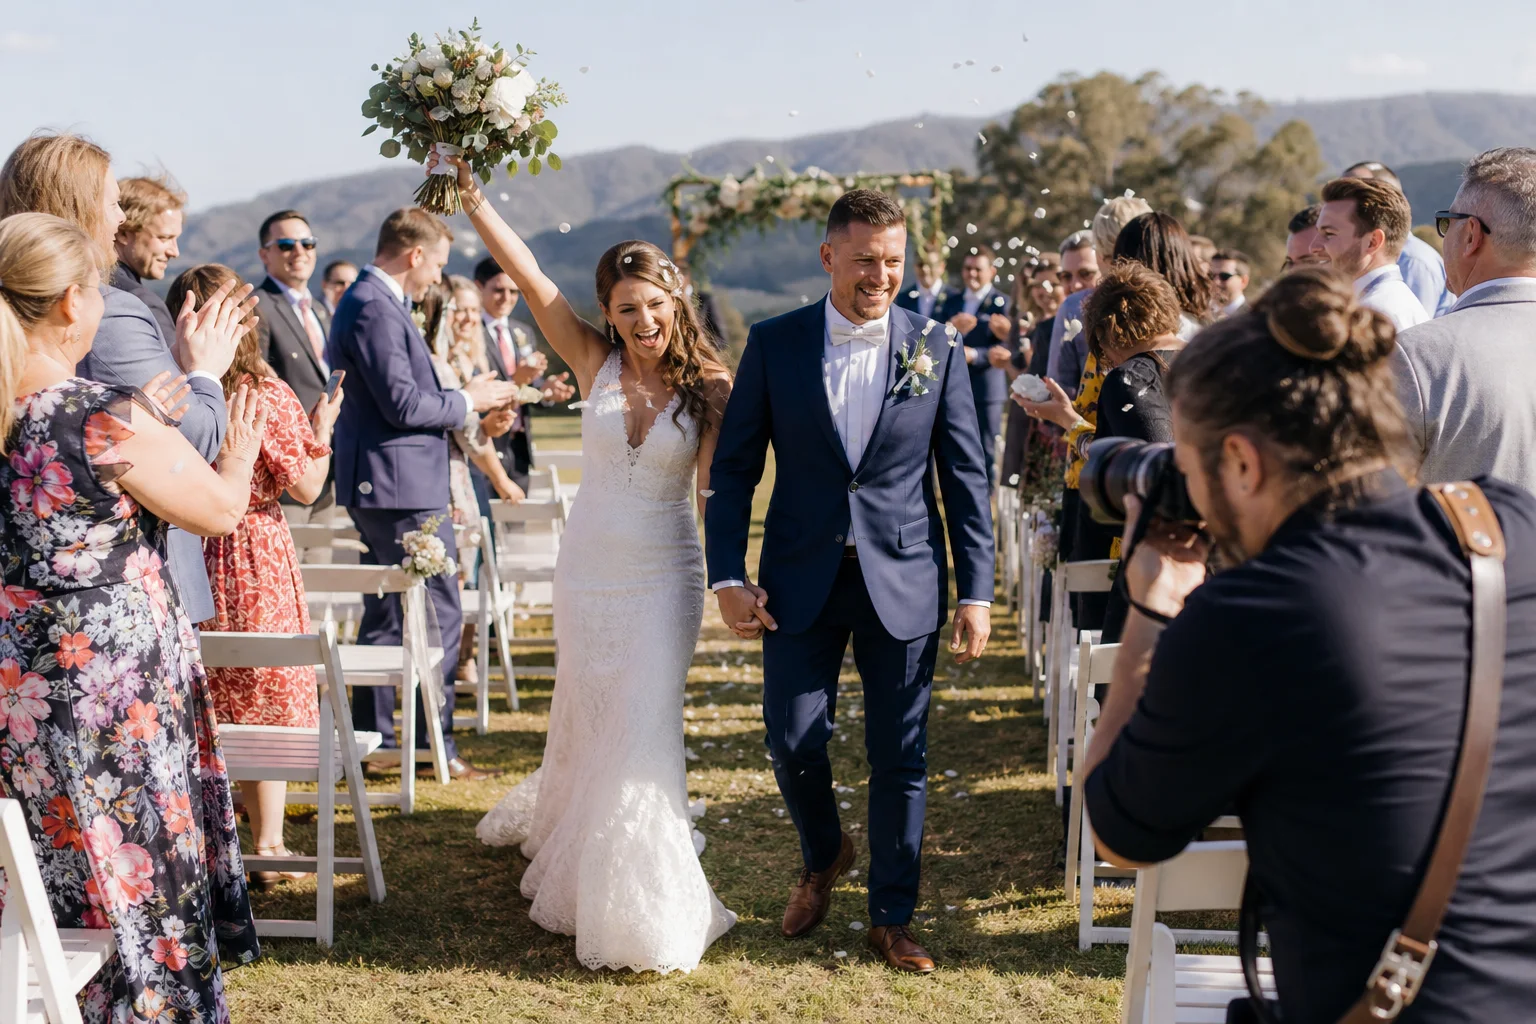
The short answer
The best wedding photography tips are mostly about reducing uncertainty. Know the people and schedule, master your cameras before the event, bring redundant equipment, anticipate moments, keep group direction simple, use dependable light, and create multiple verified copies of the files before formatting a card.
If this will be your first wedding, the safest route is to assist or second-shoot for an experienced professional before accepting sole responsibility. A wedding contains moments that cannot be staged again. Reading helps, but it cannot replace practice under real time pressure.
Before the wedding: preparation that improves the photographs
1. Learn weddings as an event, not only as a portrait session
A strong portrait photographer can still struggle at a wedding because the day does not pause while settings are adjusted. You need to recognize the sequence of a processional, ring exchange, first kiss, recessional, introductions, speeches, first dance, cake cutting, and any religious or cultural traditions specific to the couple.
Before leading a wedding, gain experience as a second photographer or assistant. Notice where the lead photographer stands, when they move, how they communicate with the officiant and planner, and how they recover when the schedule slips. Your portfolio is only one part of readiness; reliable coverage and calm decisions matter just as much.
2. Know your equipment without looking at it
You should be able to change exposure, autofocus mode, drive mode, flash compensation, card behavior, and silent-shutter settings quickly. Practice in a dim room, bright backlight, mixed indoor light, and with people walking toward you. A wedding is not the place to discover that a menu setting disables flash or that your electronic shutter produces banding under LED lights.
Custom modes can help. For example, one may hold a quiet ceremony setup and another a flash-ready reception setup. Treat them as starting points and confirm the exposure whenever the light changes.
3. Hold a focused pre-wedding meeting
Ask for names, pronunciations, phone numbers, addresses, parking details, vendor contacts, important traditions, mobility needs, family sensitivities, and any restrictions on photography. Find out who is getting ready where, whether there is a first look, and which moments will happen only once.
Do not ask the couple to create an enormous list of obvious pictures. You already know to photograph the processional and first kiss. Ask instead about people and events you could not infer: a grandparent who traveled a long distance, a handmade heirloom, a private tea ceremony, a surprise performance, or separated relatives who should not be placed together.
4. Turn the event schedule into a photography timeline
A venue timeline says when events begin. A photography timeline also accounts for travel, parking, unloading, detail photographs, getting dressed, family combinations, room access, light, and delays. Confirm it with the planner and couple, then keep an offline copy on your phone and a printed backup.
Protect the time before fixed events. If the ceremony starts at 4:00 p.m., finishing portraits at 4:00 is not a plan. The couple needs time to hide from arriving guests, refresh, and breathe. Add realistic buffers rather than designing a schedule that only works when nobody is late.

5. Scout for light, access, rules, and a weather alternative
Visit at the approximate time of day when possible, or request recent photographs from the venue. Locate open shade, clean indoor portrait backgrounds, power outlets, rain cover, a family-photo location, and a place to store equipment securely. Note how long it takes to walk between locations.
Ask the officiant or coordinator where photographers may stand, whether movement is allowed, and whether flash or silent shooting is required. Some venues prohibit photography from the center aisle or sanctuary. Respect those boundaries and plan lens choices around them.
6. Pack redundancy, not every item you own
Bring at least two dependable camera bodies, overlapping focal-length coverage, several batteries, more card capacity than you expect to use, two flashes if flash is essential, spare triggers, chargers, cleaning supplies, rain protection, and a simple repair kit. A backup body buried in a car is not useful during the processional; keep critical equipment accessible.
Redundancy should cover function rather than create unnecessary weight. If a favorite prime fails, another lens must still let you cover the ceremony. If an off-camera trigger fails, you need a tested on-camera or bounce-flash alternative. Label batteries and cards so used media cannot accidentally return to rotation.
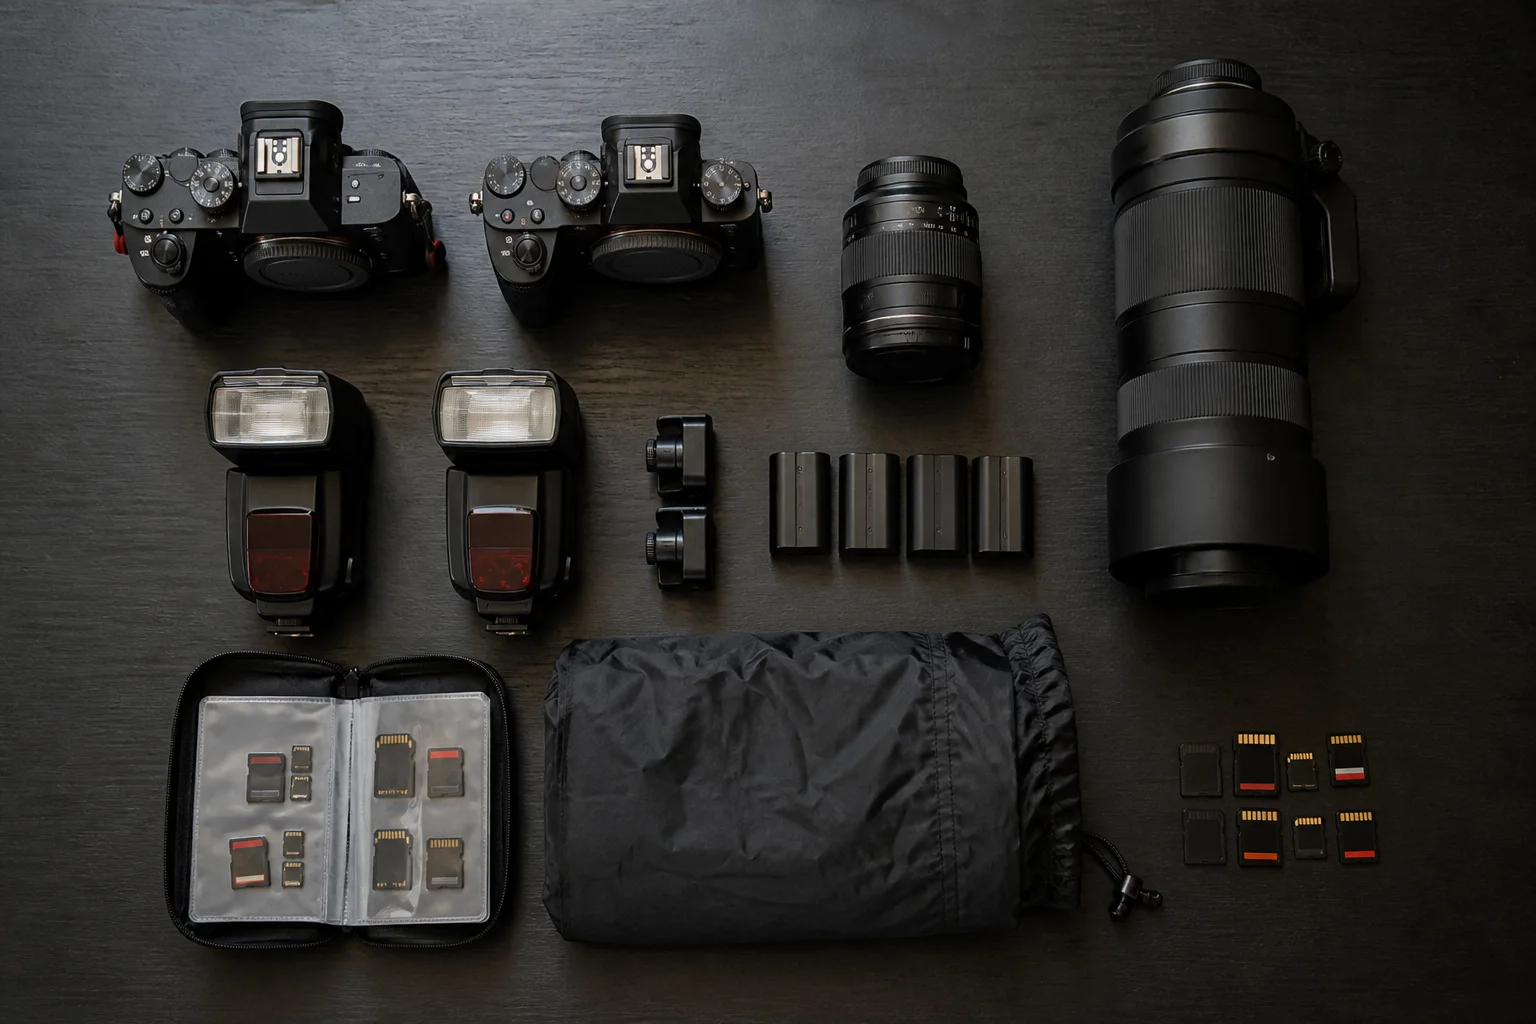
7. Prepare every camera as one system
Set the date and time accurately on all bodies so images sort in sequence. Match file type, color space, autofocus behavior, and card settings. If a camera has two card slots, use simultaneous recording rather than overflow for paid, unrepeatable work. Confirm that both cards are actually writing.
Clean lenses and sensors, charge batteries, format cards in the camera after verifying old files are backed up, and take test frames with every body, lens, flash, and trigger. Pack from a written checklist. Memory is least dependable when departure time is approaching.
During the wedding: exposure, focus, and storytelling
8. Arrive early and begin with context
Early arrival gives you time to meet the planner, confirm last-minute changes, check light, photograph untouched rooms and details, and let the wedding party become comfortable with you. It also creates breathing room for traffic or access problems.
Build the story from more than decorations. Photograph the exterior, weather, hands at work, relatives greeting one another, handwritten notes, quiet anticipation, and the transition from preparation to ceremony. Details matter most when they reveal the people or place, not when they become a catalog that crowds out human moments.
9. Make the safe photograph before the clever one
For the first kiss, ring exchange, recessional, and other one-time moments, secure a clear composition at a dependable exposure and shutter speed. Once you have it, vary the framing if time allows. Do not attempt an unfamiliar technique as your only coverage.
The same principle applies to portraits. Make the version with clean light, visible faces, and a straightforward composition before introducing motion blur, reflections, prisms, or a complex flash setup. Creativity is valuable; reliability earns you permission to pursue it.
10. Use shutter speed for the movement, not the tradition
Motion causes more lost wedding photographs than modest high-ISO noise. As practical starting points, try around 1/250 second for people walking, 1/320 to 1/500 for a fast recessional or energetic dancing without flash, and at least 1/160 to 1/250 for handheld portraits unless your subjects are very still. Increase the speed when a long lens magnifies movement.
These are not fixed rules. Flash duration may freeze a subject at a slower shutter, while intentional drag-shutter work may use 1/30 second or slower. Decide whether motion should be sharp or expressive, then choose deliberately. Auto ISO with a sensible minimum shutter speed can be effective when light changes quickly.
11. Protect faces and important white detail
White dresses, pale suits, bright windows, and dark clothing can share one frame. Use the histogram and highlight warning rather than trusting the brightness of the rear screen. RAW files provide useful editing latitude, but they cannot restore completely clipped texture.
Expose for the important subject, check skin in the actual light, and watch for color contamination from green walls, DJ lights, or mixed window and tungsten sources. In hard sun, open shade or clean backlight is often easier than patchy light. When conditions cannot be changed, prioritize readable faces over a technically perfect background.
12. Configure autofocus for people who do not stay still
Continuous autofocus with subject or eye detection is a strong default for processions, reactions, and dancing, provided you have tested how your camera behaves. Use an appropriate focus area rather than allowing the camera to choose any face in a crowded frame. For static details or a formal group, a smaller controlled area may be more predictable.
Burst shooting can help through expressions and movement, but longer bursts are not a substitute for timing. They fill buffers and create hours of near-duplicates. Begin before the peak moment, follow through afterward, and review critical sequences only when there is genuinely time.
13. Cover important scenes wide, medium, and tight
A wide frame explains the place, a medium frame shows relationships, and a close frame preserves expression or detail. This simple sequence creates a more complete story and makes album layouts easier. You do not need all three for every minor event, but use the pattern for preparation, ceremony, speeches, dances, and major traditions.
With two photographers, assign complementary positions and focal lengths rather than creating duplicate frames from the same angle. Agree in advance about aisle movement and which person follows each side during preparation.
14. Anticipate the moment—and photograph what happens next
Learn the order of the ceremony and listen for verbal cues. Position yourself before the processional begins, before the rings are exchanged, and before the couple reaches the end of the aisle. Moving early is quieter and produces better angles than reacting after everyone else turns.
Keep shooting after the obvious event. Parents often react after the vows, the couple may laugh immediately after the first kiss, and hugs begin as soon as a speech ends. The emotional answer to a moment can be more revealing than the moment itself.
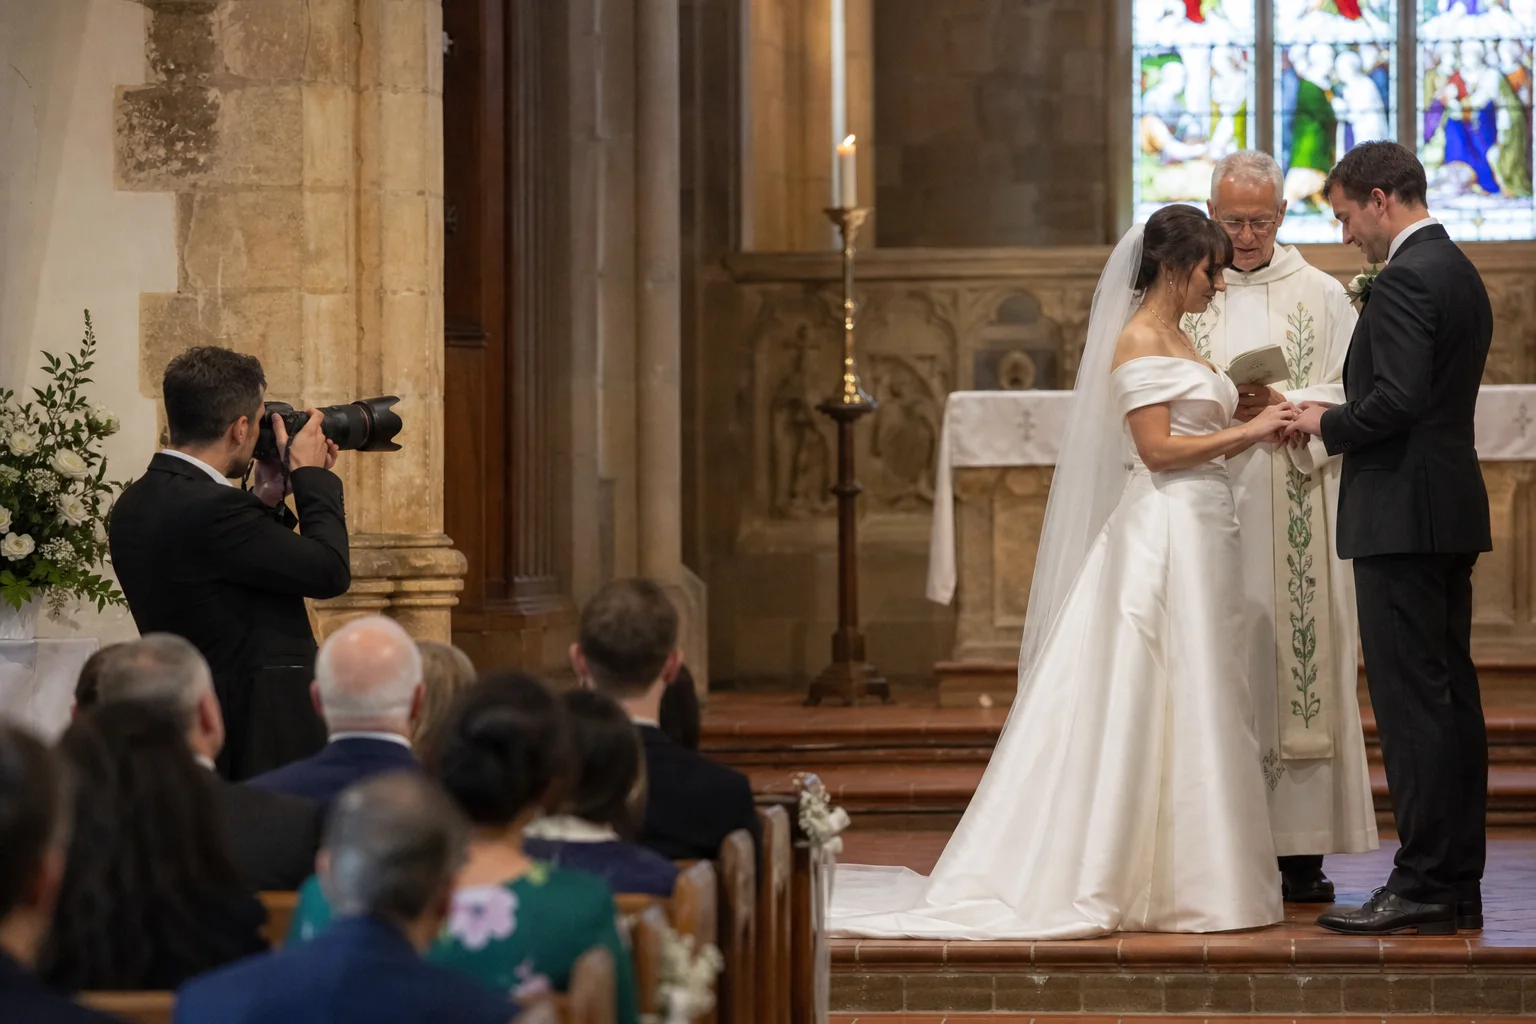
15. Be unobtrusive during ceremonies, but decisive when direction is needed
Wear quiet shoes, silence camera sounds when the venue and lighting permit, avoid blocking guests, and limit unnecessary movement. A longer lens can preserve expressions without turning the photographer into part of the ceremony. Coordinate with the video team so neither person repeatedly enters the other's frame.
In portraits and family photographs, quiet observation is no longer enough. Give brief, audible directions and make decisions confidently. Good wedding coverage changes modes: discreet when events are unfolding, helpful when people need leadership.
Photographing people without making the day feel like a photo shoot
16. Give couples actions, then refine what happens
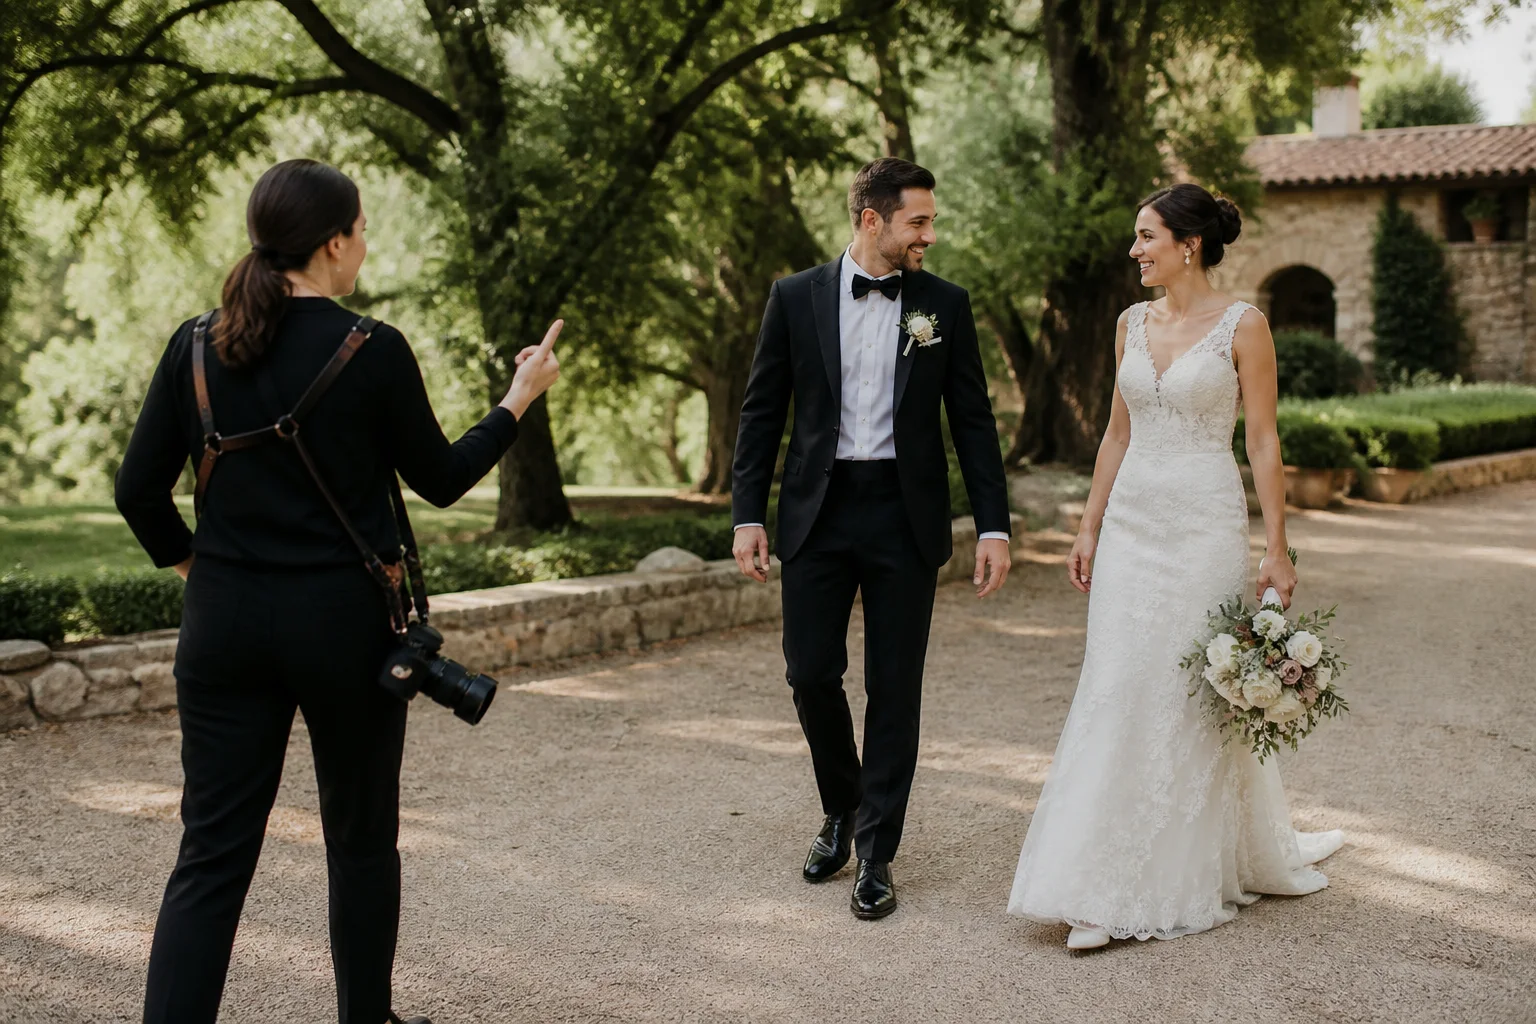
Many people do not know what to do with their hands or where to look. Begin with a simple action: walk slowly, lean together, take a breath, fix a cuff, or tell each other what you noticed during the ceremony. Actions create weight shifts and expressions that feel more believable than a long list of body-part instructions.
Then refine the result. Watch posture, hands, pockets, bouquet height, jacket shape, dress fabric, and the angle of both faces. Give one correction at a time and show encouragement without demanding constant laughter. A quiet portrait can be just as warm as a smiling one.
17. Make family formals fast, simple, and complete
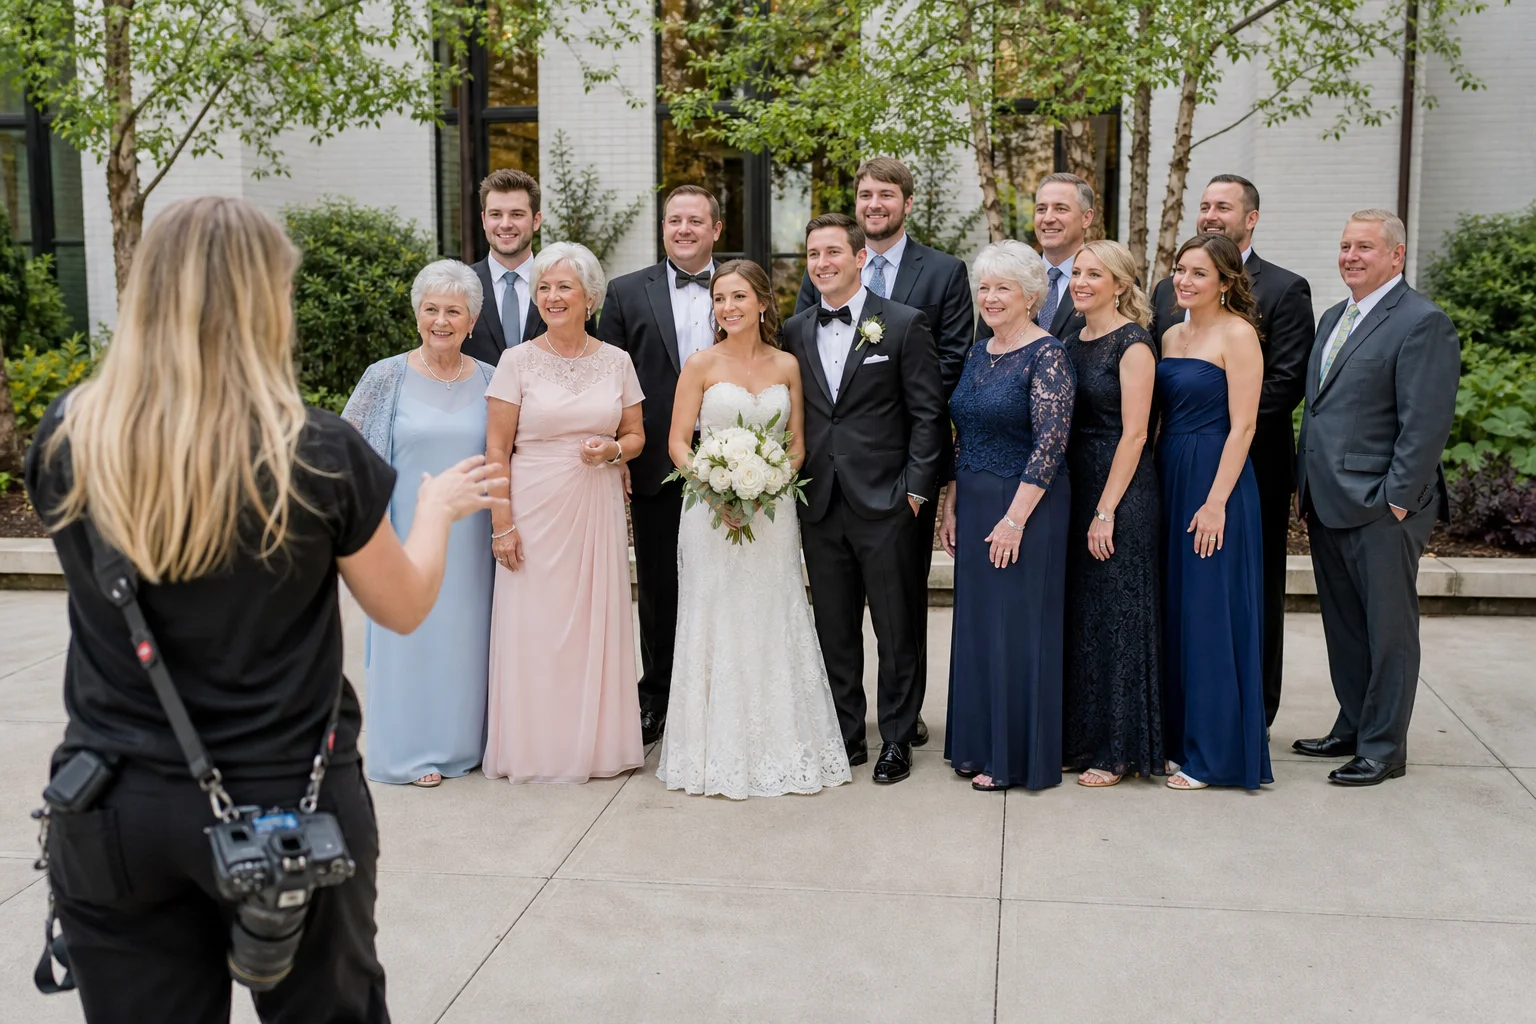
Use a short, named list agreed before the wedding and appoint a relative or wedding-party member who recognizes everyone. Start with the largest or hardest-to-gather group, then remove people for smaller combinations. Keep the next group nearby while you photograph the current one.
Choose even, frontal light and a background large enough for the group. Arrange faces at different heights without hiding anyone; if a person cannot see the lens with both eyes, the camera probably cannot see them. Check the frame edges, hands, bouquets, glasses glare, and closed eyes.
Depth of field depends on distance, focal length, sensor size, and how many rows you have. As a useful starting range, one row may work around f/4, while multiple rows often need f/5.6 to f/8. Focus about one-third into a deeper group, raise ISO rather than accepting a risky shutter speed, and take several frames.
18. Work with the planner, officiant, DJ, and video team
Introduce yourself early and confirm the current timeline. Ask the DJ to alert you before introductions, speeches, dances, cake cutting, or a surprise. Check with catering about when the photography team will eat; being served after guests can mean missing the next scheduled event.
Discuss fixed camera positions, microphones, lighting stands, and movement with the video team. The goal is not to win the best angle at someone else's expense. A two-minute conversation can prevent blocked shots and visible equipment throughout an entire ceremony.
Reception lighting and file safety
19. Learn one dependable flash method before adding complexity
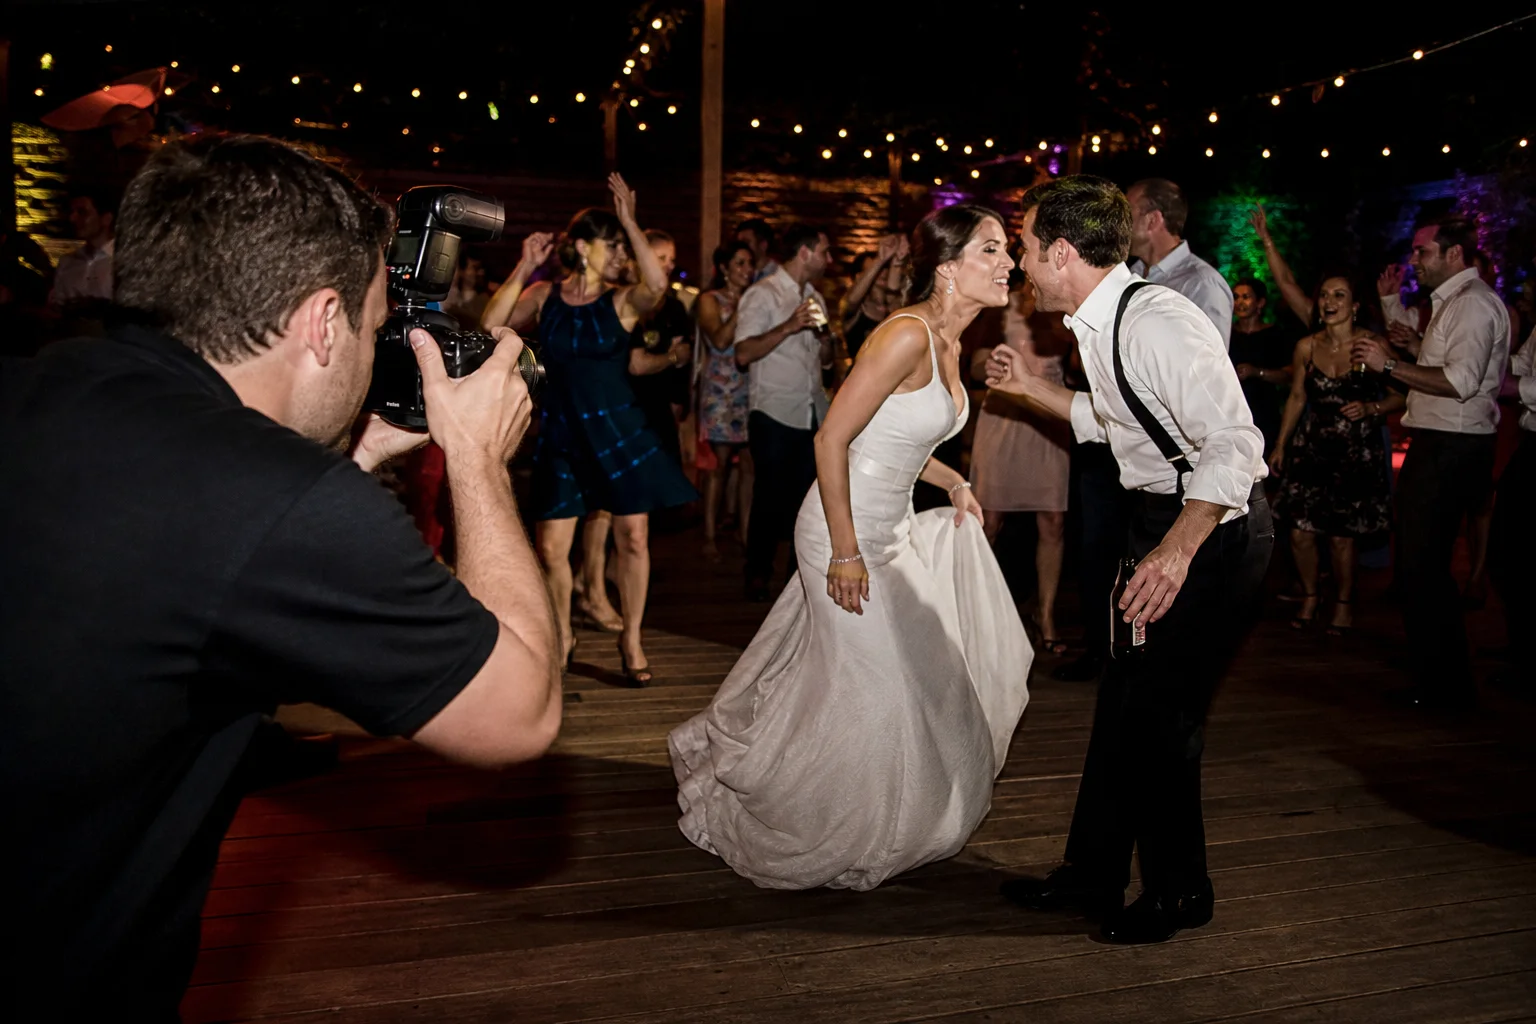
Dark receptions combine moving people, colored lights, high ceilings, mirrors, and rapidly changing distances. Begin with a technique you can repeat. Bounce flash from a neutral nearby wall or ceiling when possible, or use a small directional modifier when the room offers no useful bounce. Watch the background exposure so the room does not disappear into black.
For dancing, a slower shutter can retain ambient light and movement while flash keeps the main subject recognizable. Off-camera flash can add depth to speeches and the dance floor, but only use it when stands, triggers, power, placement, and fallback options have been practiced. Keep light stands secured and outside guest traffic.
20. Protect the photographs from capture through delivery
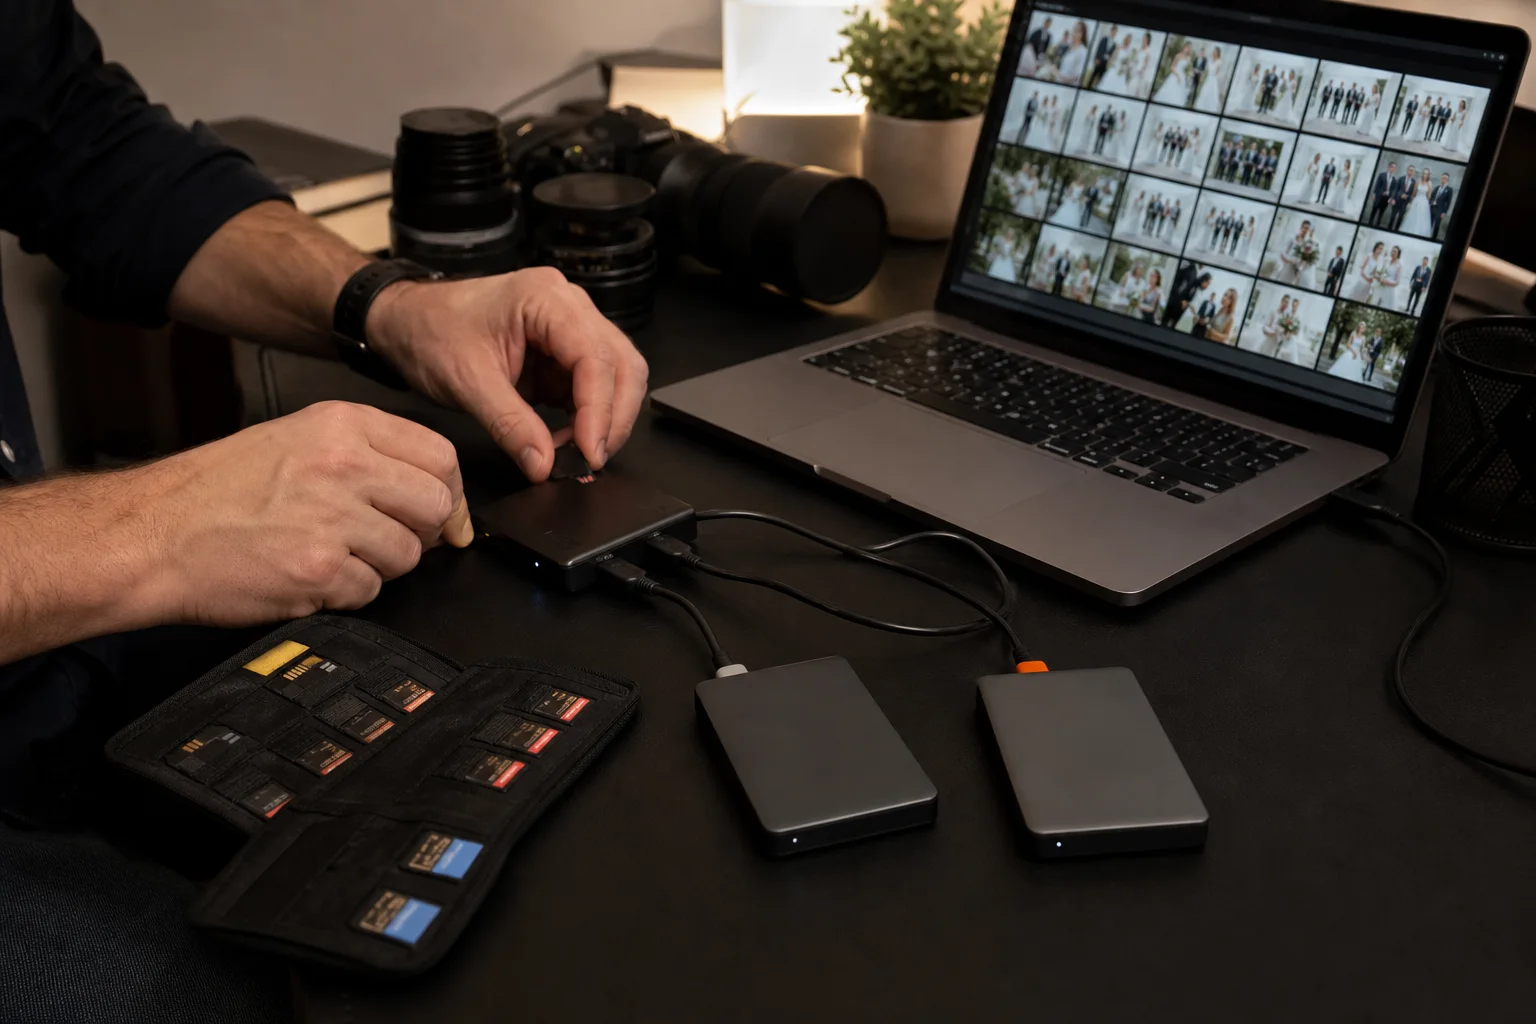
Record to two cards in-camera when available. Keep full cards on your body or in a secure, clearly marked wallet; never leave every copy in one unattended bag. Do not format or reuse any card during the wedding. If you create an on-site backup, verify the copied files before considering it a copy.
Afterward, follow the 3-2-1 principle: keep at least three copies, on two kinds of storage, with one copy off-site. A practical sequence is to copy cards to primary storage and a separate backup drive, verify file counts or checksums, begin an off-site backup, and retain the original cards until those copies are confirmed. A RAID enclosure is not a backup by itself, and a second folder on the same drive is not a second copy.
Useful starting settings by part of the day
There is no universal wedding preset. These ranges are starting points for a modern interchangeable-lens camera; adjust for light, focal length, subject movement, and your equipment.
| Situation | Practical starting point | Watch for |
|---|---|---|
| Getting ready | 1/200 sec or faster, f/2 to f/4, Auto ISO | Window backlight, mirrors, mixed color |
| Processional | Continuous AF, 1/320 sec or faster, low burst | People entering shade or strong backlight |
| Quiet ceremony | Silent mode if tested, 1/200 sec or faster, RAW to two cards | LED banding, officiant restrictions, shutter sound |
| Family groups | Roughly f/4 for one row; f/5.6 to f/8 for deeper groups | Risky shutter speeds, blocked faces, edge distortion |
| Couple portraits | 1/250 sec or faster; aperture chosen for desired depth | Clipped white fabric, hands, posture, background clutter |
| Dance floor with flash | Start near 1/100 sec, then adjust ambient and flash separately | Recycle time, colored light, motion, blocked flash |
A final priority order
When the day becomes hectic, use this order: protect people, protect the moment, protect the files, then pursue variety. A technically adventurous frame is never worth disrupting a ceremony, making the couple uncomfortable, or risking the only usable record of an event.
The strongest wedding photographers are not the ones who control everything. They prepare thoroughly enough to adapt when very little goes exactly to plan.
Frequently Asked Questions
-
There is no single best setting. Use a shutter speed fast enough for the subject, an aperture that gives the required depth of field, and whatever ISO completes the exposure. Continuous autofocus and Auto ISO can be useful for moving events, while manual exposure is helpful when the light is stable. Shoot RAW and check highlights, focus, and motion throughout the day.
-
About 1/250 second is a sensible starting point for walking people, with 1/320 to 1/500 or faster for energetic movement. Static portraits may allow slower speeds, while flash can freeze a subject even when the shutter is deliberately slowed to preserve ambient light. Adjust for focal length and how steadily you can work.
-
You need reliable coverage from moderately wide scenes to tighter expressions. Many photographers use a standard zoom plus a telephoto zoom, or two complementary primes on separate bodies. Exact focal lengths matter less than having low-light capability, knowing the lenses well, and retaining usable coverage if one item fails.
-
For professional sole coverage, a second dependable body is an important safeguard because the wedding continues if the primary camera fails. Using two bodies can also reduce lens changes during critical events. Both should be tested, ready, and capable of producing work you would be comfortable delivering.
-
Flash is often necessary at dark receptions and can also fill shadows in daylight. Ceremony rules may prohibit it, so confirm restrictions beforehand. Learn a simple bounce or directional-flash method first, then add off-camera setups only after practicing placement, exposure, triggering, and a fallback plan.
-
Assist or second-shoot first if possible. Learn the event sequence, practice rapidly changing light and moving subjects, create a detailed timeline and family list, inspect the venue, carry backup equipment, record to two cards, and arrange a verified multi-copy backup workflow. Be transparent with the couple about your experience and do not promise professional coverage beyond your ability.