How to Transfer Photos from a Camera to a Computer
Move photos and video by card reader, USB, or wireless connection without losing files, then verify and back up the transfer before clearing the card.
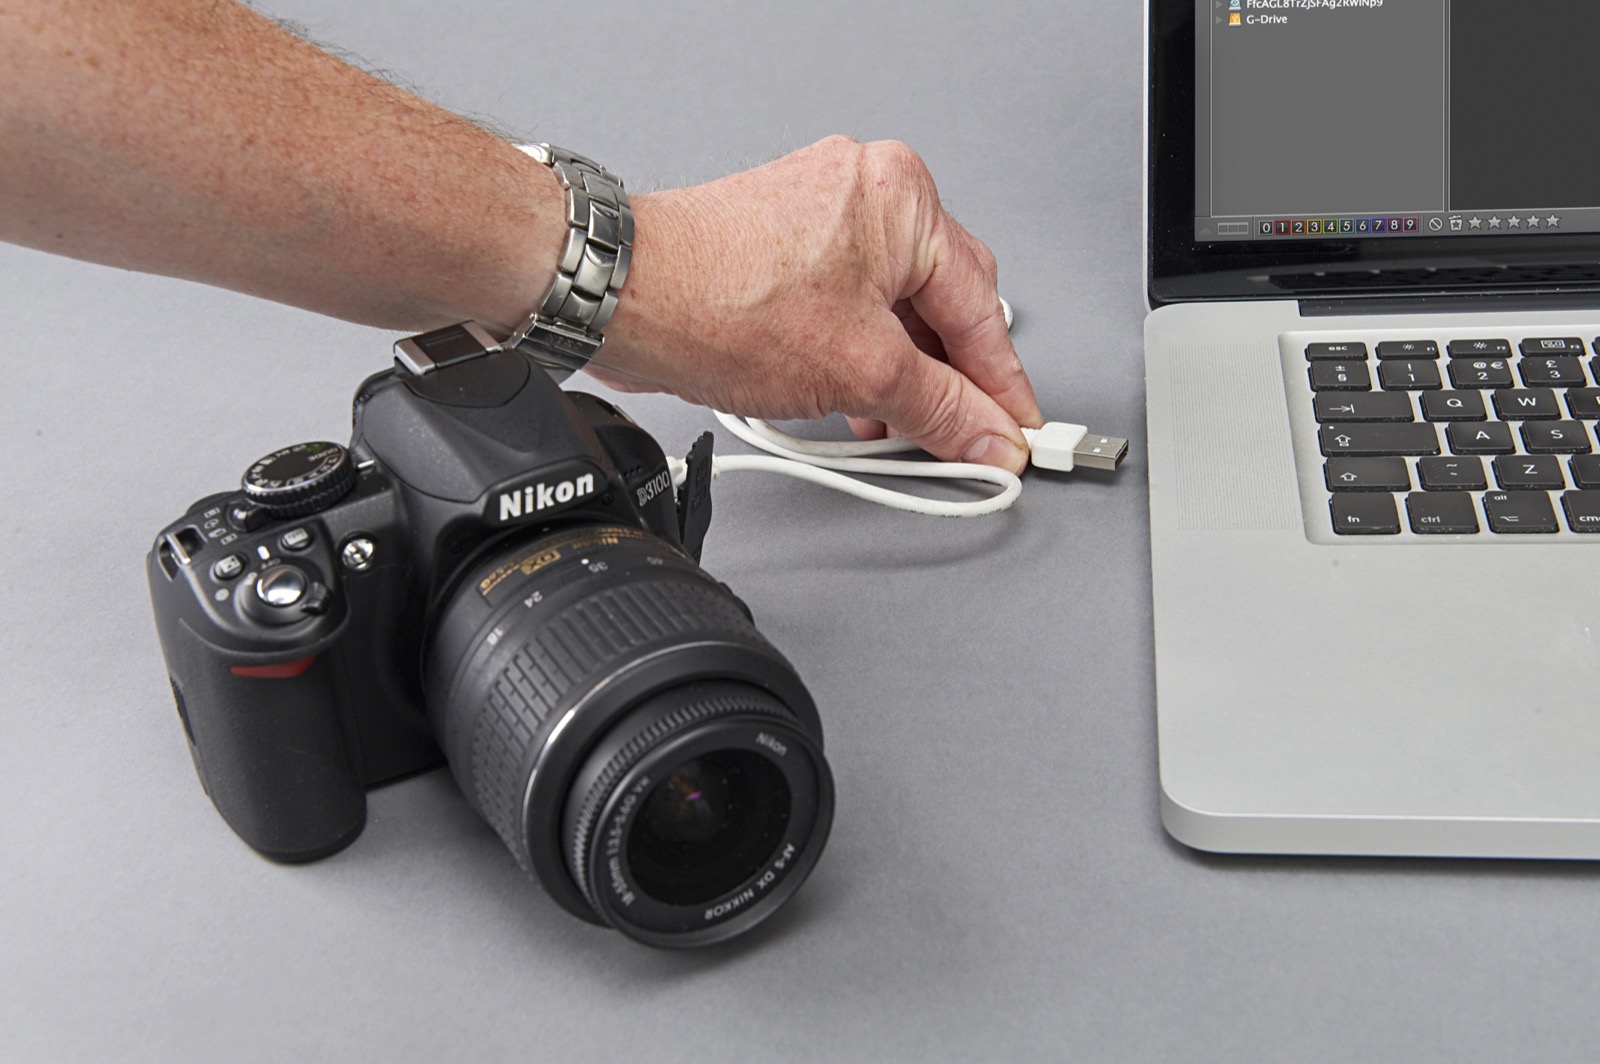
Choose a transfer method
There are four practical routes from camera to computer:
- Card reader: remove the card and place it in a compatible built-in or external reader.
- Direct USB: connect the camera to the computer with a data-capable cable.
- Manufacturer software: use Canon EOS Utility, Nikon Transfer 2 with NX Studio, Sony software, or another official importer.
- Wireless transfer: send files over Wi-Fi or a network when convenience matters more than maximum speed.
The image files remain the same when copied correctly. The best method is the one that is compatible, fast enough, and easy to verify.
Card reader: the general-purpose choice
A reader does not consume the camera battery and often reaches the card's full interface speed. It also lets you return the camera to service with another card while the first is downloading.
- Turn off the camera and wait until its access light stops.
- Remove the card and insert it into a reader that supports its format and speed generation.
- Connect the reader directly to the computer where practical.
- Open the mounted volume or your import software.
- Copy files to the prepared destination folder.
- Verify the transfer, then eject the volume through the operating system before removing it.
An SD reader cannot accept CFexpress, and readers that share a connector may not support every protocol. Check CFexpress Type A versus Type B, UHS-I versus UHS-II, and the reader's USB speed.
Direct USB from the camera
Use the cable supplied with the camera or a proven replacement. A cable can fit and charge while lacking data lines, so charging alone does not prove compatibility.
- Insert a charged battery and card.
- Turn the camera off if its manual instructs you to connect while powered down.
- Connect it directly to the computer rather than through an unreliable hub.
- Turn on the camera and select Mass Storage, MTP/PTP, PC Connection, or Image Transfer if prompted.
- Launch the operating-system importer or official camera software.
- Complete and verify the transfer before turning off and disconnecting the camera.
Some cameras charge over the same port; others cannot transfer while charging. Sleep settings can interrupt a long job, so extend the timer or use an approved AC adapter for very large transfers.
Using Windows
When the card or camera appears, Windows can import through the Photos app or copy folders in File Explorer. Direct folder copying offers the clearest view of what is moving. The Photos app can help group files by date, but check where it stores them before starting.
Create a destination such as Pictures / 2026 / 2026-08-19_Client-Location. Avoid importing everything into an unnamed default folder that will be difficult to audit later.
Using macOS
A card normally appears in Finder. A connected camera may instead appear in Image Capture, Photos, or the manufacturer's application. Image Capture is useful when you want to choose a destination without adding files to an Apple Photos library.
If an application opens automatically, confirm whether it copies files into a managed library or merely references their existing location. A managed library is still one copy on one storage device.
What manufacturer software adds
Official utilities can recognize camera-specific connection modes, rename files, create backup copies, apply metadata, and avoid importing previously transferred images. Nikon's current workflow, for example, uses Nikon Transfer 2 installed with NX Studio on supported cameras.
You do not have to use brand software for a normal card-reader copy. It becomes valuable when the computer does not expose the camera as ordinary storage, when tethering is involved, or when you want automated naming and destination rules.
Copy the complete shoot
Still images are commonly stored under DCIM, but video, proxies, voice memos, camera settings, and sidecar files may live elsewhere. Copying only visible JPEGs can omit RAW files or clips.
For a mixed photo/video card, copying the full card structure into an ingest folder is the most conservative first step. You can reorganize working files after the transfer is verified. Do not alter folders on the card from the computer unless the camera maker instructs you to.
A folder and filename system that scales
Use names a human can understand without opening the catalog:
- Project folder: date plus client, event, or location;
- Originals: untouched camera files;
- Catalog: editing database and sidecars;
- Exports: finished JPEGs or TIFFs; and
- Delivery: the final client or publication set.
Duplicate filenames can occur when a camera counter rolls over or two bodies use the same naming scheme. Rename during import with a stable project prefix and sequence, or keep each camera in a separate ingest folder until the catalog assigns unique names.
How to verify a transfer
A progress bar reaching 100 percent is encouraging, not conclusive. Check:
- the expected folders exist;
- file counts and total size are plausible;
- several files from the beginning, middle, and end open correctly;
- RAW files render in compatible software;
- long video clips play beyond their first seconds; and
- the destination is a computer drive, not the still-mounted card.
For professional or irreplaceable work, checksum-verified copy software can compare source and destination data. A checksum does not judge artistic quality; it confirms that copied bytes match.
Make the second copy
Keep the originals on the card while copying the new folder to another physical drive. For stronger protection, keep one copy off-site or in reputable cloud storage. A RAID, mirrored enclosure, or synchronized folder can improve availability, but it is not automatically a historical backup.
The useful rule is that no single failure—lost laptop, failed drive, accidental deletion, or theft of one bag—should remove every copy.
When can you format the card?
Only after both copies are present and at least one has been opened and inspected. Then return the card to the camera and follow the backup-first process in how to format a camera memory card safely.
Do not erase files from the card during import merely to save a few minutes. If the transfer fails halfway, automatic deletion can leave a confusing partial set.
Safe ejection matters
An operating system may cache writes even after a copy dialog disappears. Use Eject or Safely Remove, wait for confirmation, and check that activity lights have stopped. Never pull a reader during a write, firmware update, database repair, or card format.
When using a camera, finish the importer, eject if the system offers that control, turn the camera off, and then disconnect it according to the manual.
If the card or camera does not appear
- Try a different known-good data cable and a direct computer port.
- Turn on the camera and select the correct USB connection mode.
- Unlock the phone-style permission prompt if the camera presents one.
- Try a compatible reader and another card to isolate the problem.
- Check Disk Management on Windows or Disk Utility and Image Capture on macOS without initializing an unrecognized card that contains needed photos.
- Update the official importer and confirm operating-system compatibility.
If transfer speed is unexpectedly slow
The slowest link controls the result: card, reader, cable, hub, computer port, destination drive, or wireless network. A UHS-II card in a UHS-I reader falls back to the slower interface. Thousands of small files can also copy more slowly than one large video file.
Avoid cheap hubs, confirm that the destination drive has free space, and close software that is simultaneously generating previews or cloud-syncing every new file if it causes instability.
A dependable end-to-end routine
- Prepare a uniquely named folder.
- Copy the complete shoot without deleting from the source.
- Verify counts, sizes, and representative files.
- Copy the folder to a second physical destination.
- Eject the card or camera safely.
- Preserve the card until the next shoot.
- Format in the camera only after the backups remain accessible.
This adds a few deliberate minutes to the import, but it removes most of the uncertainty that causes photo-loss mistakes.
Frequently Asked Questions
-
A compatible reader is often faster and does not use the camera battery. Direct USB is convenient when you do not want to remove the card. Both are safe with a verified copy workflow.
-
The cable may be charge-only, the camera may be in the wrong USB mode, or the software may not support that model. Try the supplied data cable, a direct port, and the official importer.
-
Most still images are under a DCIM folder, but video, proxies, audio, and settings may use other directories. Copy the complete relevant folder structure for a mixed shoot.
-
Wait until you have verified the import and created a second independent copy. Then format the card in the camera instead of relying on piecemeal computer deletion.
-
It creates one new copy. A real backup requires at least another independent copy, ideally on a separate device and with one copy stored off-site.