How to Connect a Camera to a Smartphone
Pair a digital camera with an iPhone or Android phone for photo transfer and remote shooting, and fix the Wi-Fi and Bluetooth problems that commonly get in the way.
What you need
- a camera with supported wireless or wired smartphone connectivity;
- a compatible iPhone, iPad, or Android device;
- the camera maker's current app;
- a charged camera battery; and
- the camera model's manual or on-screen QR code.
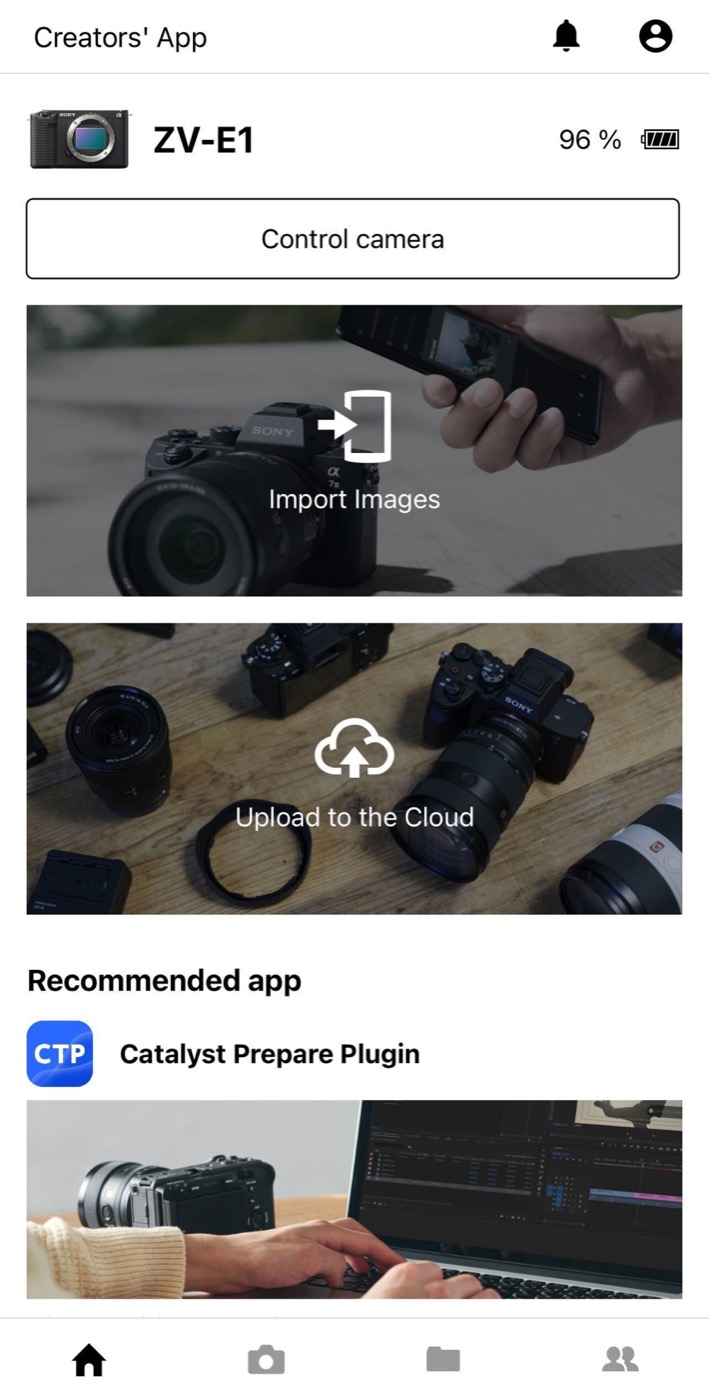
App support changes by camera generation. Sony may use Creators' App or Imaging Edge Mobile; Canon uses Camera Connect; Nikon uses SnapBridge; Fujifilm uses its XApp or Camera Remote depending on model. Check the maker's compatibility list rather than assuming its newest app supports an older body.
How Bluetooth and Wi-Fi work together
Seeing a Bluetooth icon does not necessarily mean photos will move over Bluetooth. Its low power use makes it good for pairing, time synchronization, location data, and waking a connection. The app commonly asks the camera to establish a direct Wi-Fi link when you open live view or import images.
Your phone may temporarily leave normal Wi-Fi internet while connected directly to the camera. A warning that the camera network has no internet is expected; choose to remain connected. Some newer systems connect both devices through the same home or studio access point instead.
The clean first-time pairing process
- Update carefully. Check the official compatibility notes for the camera firmware, app version, and phone operating system.
- Charge both devices. Wireless setup can fail when a camera enters power-saving mode.
- Install the official app. Avoid similarly named third-party apps.
- Enable wireless functions on the camera. Look under Network, Smartphone Connection, Connect to App, or Wireless Communication.
- Start in the app. Choose Add Camera or Connect Camera. Do not begin by manually pairing only in the phone's Bluetooth settings unless the manual specifically says so.
- Scan or select. Scan the camera's QR code, use NFC if supported, or select the model shown by the app.
- Verify the code. Confirm that the same pairing number appears on both screens.
- Accept the Wi-Fi link. Approve any prompt to join the camera network.
- Test one small transfer. Confirm that the image reaches the phone's intended album before selecting a full shoot.
Permissions that matter
Modern phones isolate apps for privacy. A camera app may need Bluetooth to discover the camera, Local Network or Nearby Devices access to communicate over Wi-Fi, Photos access to save images, and Location permission for device discovery or geotagging.
The location request can feel unrelated, particularly on Android, but some operating-system versions group Bluetooth and Wi-Fi scanning with location controls. You can review and reduce permissions later, but denying a required discovery permission can make the camera appear invisible.
Transfer from the phone or the camera?
Most systems provide two routes:
- Browse on the phone: the app reads thumbnails from the card, then you select images on the larger screen.
- Select in the camera: mark or send images during playback, then let the app receive them.
Phone browsing is convenient for a few favorites. Camera-side selection can be faster during an event because you can mark images while reviewing them and transfer later.
Original size, reduced size, RAW, and video
Check the import setting before you begin. A reduced JPEG is quick to share and conserves phone storage, but it is not a substitute for the original file. Select original-size transfer when you need full resolution.
RAW support depends on the camera, app, phone, and file format. Some apps transfer RAW plus JPEG, some send only JPEG, and some let the phone store a RAW file that its photo library cannot preview. Video support can be restricted by codec, resolution, bit depth, clip length, or available phone storage.
For a large RAW or 4K/8K video offload, a cable or computer workflow is usually faster and more predictable. See how to transfer photos from a camera to a computer for a backup-first method.
Using the phone as a remote control
Remote shooting can show live view, trigger the shutter, start video, move the focus point, and change exposure settings. Available controls vary by camera.
Mount the camera securely before stepping away. Turn off aggressive sleep timers, confirm card space, and test whether the app preserves RAW recording and the desired image quality. A phone screen has latency, so it is not ideal for split-second sports action.
Geotagging and time synchronization
Some apps send the phone's location and clock data to the camera. This is useful for travel photography, but it can reveal precise locations when files are shared. Disable location linking for sensitive homes, wildlife sites, or private assignments, or remove location metadata during export.
USB connection to a phone
Supported cameras can transfer through USB-C or a compatible adapter, often faster and with less radio interference than Wi-Fi. Use a data-capable cable; many charging cables contain no usable data lines.
The phone may need to supply power to a reader or camera, and some combinations draw too much. If the camera is not detected, use the maker's recommended cable, a powered hub where supported, or a card reader compatible with the phone.
Why the phone cannot find the camera
- Airplane mode is active on the camera. Enable its wireless functions.
- The camera is connected elsewhere. Close desktop remote-control software and disconnect other phones.
- A VPN or security app intercepts the link. Pause it during setup, then restore it afterward.
- Permissions are missing. Recheck Bluetooth, local-network, nearby-device, photos, and location access.
- The phone abandoned the network. Rejoin the camera's Wi-Fi even if the phone says it has no internet.
- The camera slept. Wake it and extend its power-off timer during transfer.
- Old pairing records conflict. Remove them from both devices and pair again.
A reliable reset sequence
- Cancel the connection in the camera app.
- Delete or reset smartphone connection information in the camera's network menu.
- Forget the camera network in the phone's Wi-Fi settings.
- Remove the camera entry from the phone's Bluetooth list if the manual allows it.
- Force-close the app and restart both devices.
- Open the official app, grant required permissions, and add the camera again.
Reset network settings on the entire phone only as a last resort because it removes unrelated Wi-Fi and Bluetooth connections.
Slow or interrupted transfers
Keep the devices close and away from congested routers, microwaves, wireless microphones, and crowded 2.4 GHz environments. If the camera and phone support 5 GHz, it may be faster at short range but has less reach and may be restricted by region.
Transfer selected files instead of thousands of thumbnails, prevent both screens from sleeping, and avoid recording new high-bitrate video during an unsupported transfer. If the app repeatedly stalls on one file, skip it and inspect that file later on a computer.
Security basics
Pair only devices you control, verify matching codes, and avoid open access points. Remove borrowed phones after a job. Change a reused camera Wi-Fi password if your model permits it, and install firmware only from the manufacturer.
A quick field checklist
- Pair at home before the assignment.
- Send a test JPEG and check its resolution.
- Confirm whether RAW or video is required.
- Bring a data cable or card reader as a fallback.
- Keep the camera card until files have been backed up elsewhere.
A phone connection is excellent for remote control and fast sharing. It is not, by itself, a complete archive.
Frequently Asked Questions
-
Bluetooth usually handles low-power discovery, pairing, and background communication. Wi-Fi provides the bandwidth for live view, image transfer, and remote control.
-
A direct camera network is for communication between the two devices, not internet access. Stay connected long enough for the camera app to finish its task.
-
Sometimes. Support depends on the camera, app, phone, and RAW format. Confirm the app's import setting and verify that the received file is RAW rather than a reduced JPEG.
-
Yes when the camera, phone, app, cable, and power requirements are compatible. Use a data-capable cable or a supported card reader.
-
Remove the old connection from the camera, app, phone Wi-Fi, and Bluetooth settings; restart both devices; restore required permissions; and pair again from inside the official app.