Exposure Triangle Explained: A Simple Guide to Aperture, Shutter Speed, and ISO
Learn how aperture, shutter speed, and ISO work together—then use a simple decision order to choose settings without guessing or memorizing recipes.
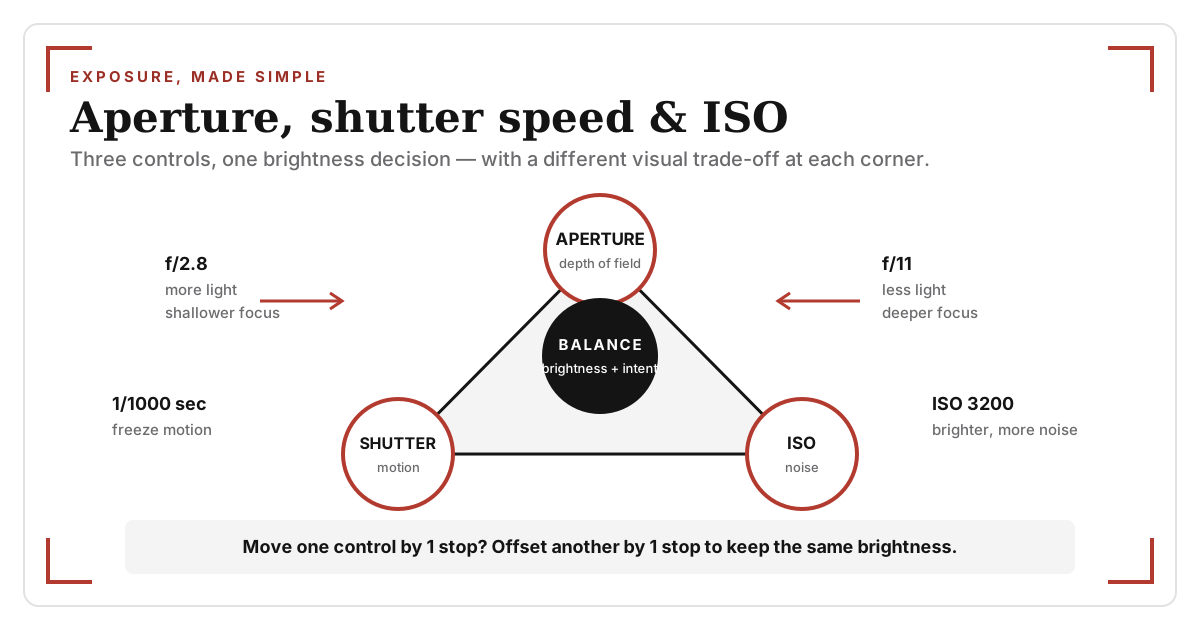
You do not need to solve a three-variable equation every time you lift the camera. The useful lesson is simpler: decide what must look right, set the control that creates that look, and balance the remaining controls until the image has the brightness you want.
What the exposure triangle really means
A camera makes a photograph from light. Aperture controls the size of the opening in the lens. Shutter speed controls how long the sensor gathers light. ISO controls how strongly the camera amplifies and renders the resulting signal.
Photographers group these three settings into a triangle because changing any one can make the recorded image brighter or darker. If you change one setting, you can often offset that change with another and keep roughly the same overall brightness.
There is one technical distinction worth knowing. Aperture and shutter time change the amount of light that reaches the sensor. Raising ISO does not open the lens or extend the exposure; it changes how the camera treats the signal it captured. The triangle is still a very practical learning model—as long as you remember that higher ISO cannot replace light without a possible image-quality cost.
Stops: the shared language of exposure
A stop is a doubling or halving of brightness. This common unit is what makes the three controls easy to trade.
- Changing shutter speed from 1/250 to 1/500 second is one stop darker because the sensor receives light for half as long.
- Changing ISO from 400 to 800 is one stop brighter in the rendered image.
- Changing aperture from f/4 to f/5.6 is one stop darker because the opening becomes smaller.
Most cameras also offer half-stop or third-stop steps. You do not need to memorize every number immediately. Watch the exposure meter, histogram, or live-view preview and learn the direction of each control first.
Aperture: choose how much of the scene looks sharp
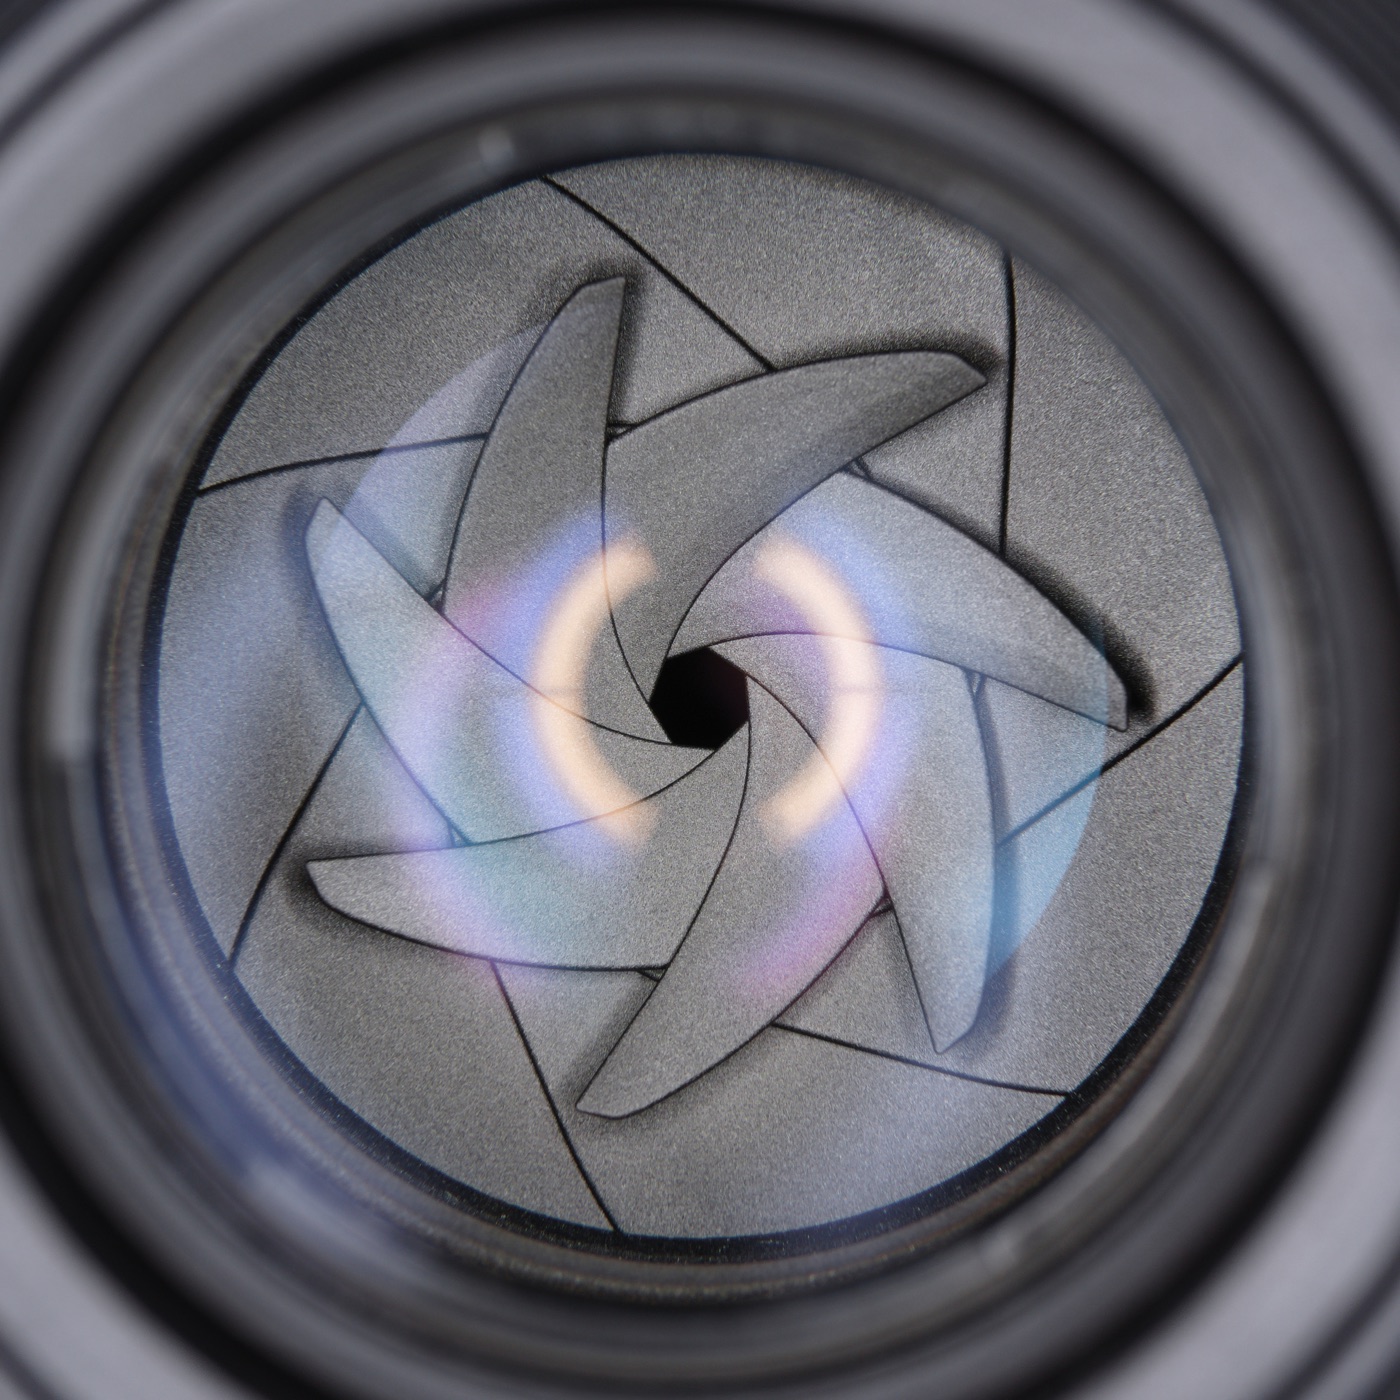
Aperture is the adjustable opening inside a lens. It is written as an f-number, such as f/2, f/4, f/8, or f/11. The numbering feels backward at first: a smaller f-number means a wider opening, while a larger f-number means a narrower opening.
A wide aperture such as f/1.8 or f/2.8 lets in more light. It can also produce a shallower depth of field, so a focused subject appears sharp while the foreground or background falls out of focus. That is often useful for portraits or details.
A narrower aperture such as f/8 or f/11 lets in less light and can increase depth of field. Landscape and architectural photographers often use this range when they want more of the scene to appear sharp.
Aperture does not act alone. Depth of field also depends on focal length, focusing distance, subject distance, sensor size, and how large the final image is viewed. Treat f-numbers as a control, not a guarantee: check the result rather than assuming that f/8 makes everything sharp.
When to choose aperture first
Choose aperture first when depth of field is central to the picture. Portraits, close-ups, product photos, and layered landscapes are common examples. Aperture Priority mode—marked A or Av—lets you select the aperture while the camera chooses a matching shutter speed.
Shutter speed: decide how motion should look
Shutter speed is the length of the exposure. A value such as 1/1000 second is very brief; 1/30 second is much longer. A fast shutter speed admits less light but can freeze action. A slow shutter speed admits more light but allows subject movement and camera movement to blur.
The subject determines what counts as fast enough. A person sitting still may look sharp at 1/125 second, while a bird in flight may require 1/1000 second or faster. Your own movement matters too: image stabilization can reduce blur from camera shake, but it cannot freeze a moving subject.
Slow shutter speeds are not automatically mistakes. They can turn moving water silky, stretch car lights into trails, or communicate speed through intentional blur. The right shutter speed is the one that renders motion the way you intended.
When to choose shutter speed first
Choose shutter speed first for sports, wildlife, children, moving vehicles, handheld low-light work, or deliberate long exposures. Shutter Priority mode—marked S or Tv—lets you set the time while the camera selects an aperture.
Planning multi-second exposures? A stable support matters more than chasing a lower ISO. See our camera tripod guide for options suited to travel, studio, and long-exposure work.
ISO: finish the exposure without sacrificing the shot
On a digital camera, ISO is best understood as a brightness and signal-gain control. A higher ISO produces a brighter rendered image for the same aperture and shutter speed, which is useful when you cannot admit more light without losing the depth of field or motion rendering you need.
The trade-off is image quality. Raising ISO can make noise more visible and reduce usable dynamic range. But a low ISO is not automatically better if it forces a shutter speed that blurs the subject. A sharp, meaningful ISO 3200 photo is usually more useful than a clean ISO 100 frame that missed the moment.
A practical approach is to use the lowest ISO that still lets you keep the aperture and shutter speed the picture requires. Auto ISO is especially helpful for changing light. Many cameras let you set both a minimum shutter speed and a maximum ISO, giving the camera room to react without crossing limits you dislike.
A simple order for choosing settings
- Decide how motion should look. If the subject is moving, protect a suitable shutter speed first. If motion is unimportant, you have more freedom.
- Decide how much depth of field you need. Choose a wide aperture for separation or a narrower one when multiple planes must remain sharp.
- Set ISO last. Raise it only as far as needed to support the first two choices in the available light.
- Check the result. Use the preview, highlight warning, and histogram. Correct the exposure if important highlights are clipped or the subject is darker than intended.
This order is more useful than memorizing a universal setting because priorities change from scene to scene.
Starting points for common situations
| Situation | Choose first | Practical starting point | What to watch |
|---|---|---|---|
| Outdoor portrait | Aperture | f/2.8 to f/4, about 1/250 sec or faster, Auto ISO | Keep the nearest eye sharp; stop down for groups. |
| Field sports or birds | Shutter speed | 1/1000 sec, a wide useful aperture, Auto ISO | Raise shutter speed for faster action; accept higher ISO when needed. |
| Tripod landscape | Aperture | f/8, base ISO, shutter speed as required | Wind and moving foliage can still blur during a long exposure. |
| Handheld night scene | Shutter speed | Set the slowest speed that keeps the subject sharp, open the lens, use Auto ISO | Stabilization helps camera shake, not subject motion. |
| Intentional motion blur | Shutter speed | Try 1/15 to 1/2 sec, low ISO, adjust aperture as needed | Review shape and direction of blur, not just brightness. |
These are starting points, not rules. Available light, focal length, stabilization, subject speed, and your creative goal may require very different values.
Do you need Manual mode?
No. Understanding exposure does not obligate you to use Manual mode all the time. Aperture Priority is fast when depth of field matters. Shutter Priority is useful when motion is the main risk. Program mode can be effective for responsive everyday shooting, especially when paired with exposure compensation.
Manual mode is most valuable when you need consistency: studio flash, panoramas, time-lapse sequences, product sets, or any scene where the light is stable and you do not want the camera to change settings after you reframe. Manual mode with Auto ISO is another useful hybrid—you lock motion and depth of field while the camera adjusts brightness as light changes.
A 10-minute practice exercise
- Choose a still subject near a window and place something several feet behind it.
- Set Aperture Priority and Auto ISO. Photograph the subject at your lens's widest aperture, then at f/5.6 and f/11. Compare background detail and shutter speed.
- Next, photograph a moving subject such as flowing water, a fan, or a person walking. Use Shutter Priority and try 1/30, 1/250, and 1/1000 second.
- Finally, use Manual mode. Create one frame at ISO 200, then double ISO and make either shutter speed twice as fast or aperture one stop narrower. The brightness should remain similar while another visual quality changes.
Keep the images side by side and read their recorded settings. That comparison will teach the triangle faster than memorizing a chart.
Common exposure-triangle mistakes
Protecting low ISO at any cost
Noise is visible; motion blur is often fatal. If the subject is moving, raise ISO before allowing the shutter speed to fall below what the action requires.
Using aperture only for brightness
Opening or closing the lens also changes depth of field. Check whether the important parts of the scene still look sharp.
Trusting the meter as a definition of correct
The meter aims for a camera-calculated brightness, not your intention. Snow, dark stages, backlighting, and silhouettes may need exposure compensation or manual adjustment.
Changing everything at once
If a frame fails, identify the problem first. Too much motion blur calls for a faster shutter. Too little depth of field calls for a narrower aperture. Only then rebalance the other controls.
The short rule to remember
Motion first, depth of field second, ISO last is a reliable default for moving subjects. For a still scene, you can reverse the first two. In both cases, the goal is not a mathematically perfect combination—it is a photograph with the motion, focus, and brightness you intended.
Sources and further reading
This guide was checked against the camera makers' own learning materials: Fujifilm's Exposure Triangle tutorial, Nikon's Basics of Exposure and Auto ISO guides, and Sony's explanation of the relationship between aperture, shutter speed, and ISO.
Frequently Asked Questions
-
Aperture, shutter speed, and ISO. Aperture affects the lens opening and depth of field; shutter speed affects exposure time and motion; ISO affects how the camera amplifies and renders the captured signal.
-
Change the setting tied to the result you care about most. Choose shutter speed first when motion matters, or aperture first when depth of field matters. Then use the remaining setting and ISO to reach the brightness you want.
-
No. Aperture and shutter time control how much light the sensor receives. Higher ISO makes the camera render the captured signal more brightly, but it can also reveal more noise and reduce usable dynamic range.
-
One stop means doubling or halving brightness. For example, changing from 1/250 to 1/500 second halves the exposure time, while changing ISO 400 to ISO 800 offsets that change by making the rendered image one stop brighter.
-
Manual mode is useful for practice and consistent lighting, but it is not required. Aperture Priority and Shutter Priority teach the same relationships while letting the camera balance one variable for you.